Subsection 12.1.3 Formatting Reference Lists, Bibliographies, and Works Cited
Whether you are writing using APA, Chicago, or MLA citation style, you will most likely be required to include a reference list, bibliography, or works cited (respectively) at the end of your paper. While keeping track of your sources and writing up references can be a daunting task (see Chapter 8 and Section 12.2 for some very helpful tricks), formatting them using a word processor is actually less painful than it might seem. We won’t go into the specific details of each citation style (again, see Chapter 8 for this), but we will talk about how to create hanging indents and how to format each source list using Word.
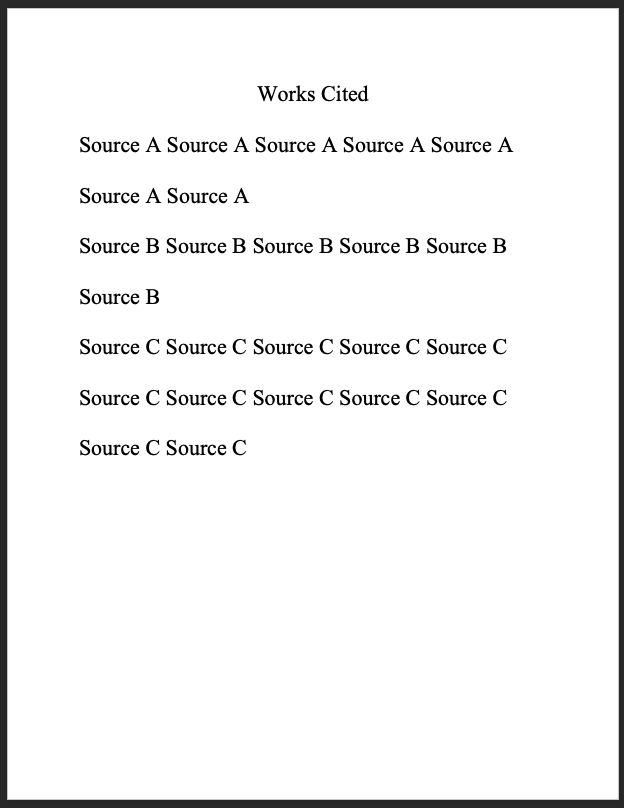
I used to have to tab over a million times to try to create hanging indents in my works cited—until I learned this method, and my life literally changed. To create a reference list, bibliography, or works cited page using hanging indents, begin with centering a References (or Bibliography or Works Cited, depending on what citation style you’re using) title at the top of your page and entering your first citation beneath it (remember to keep everything double-spaced in APA and MLA and single-spaced with a blank line after each entry in Chicago).
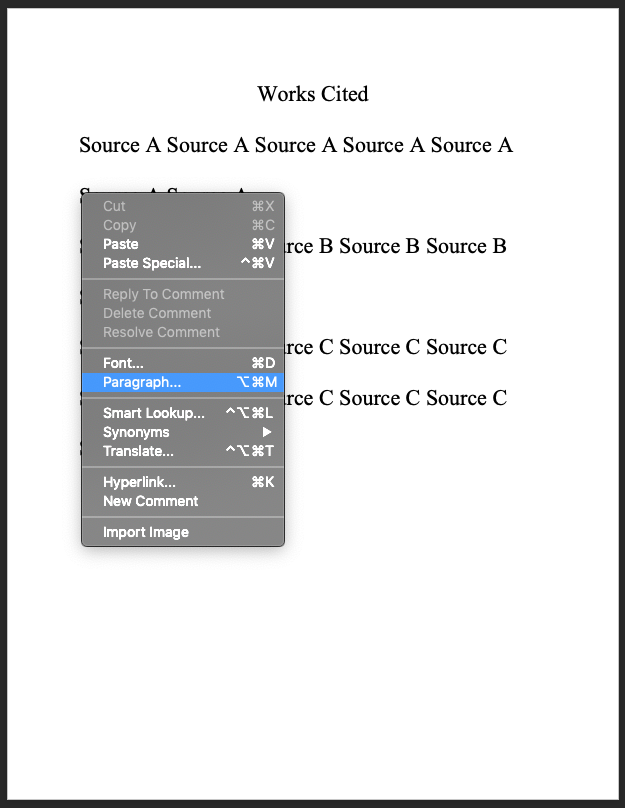
Next, place your cursor at the very beginning of the second line of your citation, right-click, and select the “Paragraph” option.
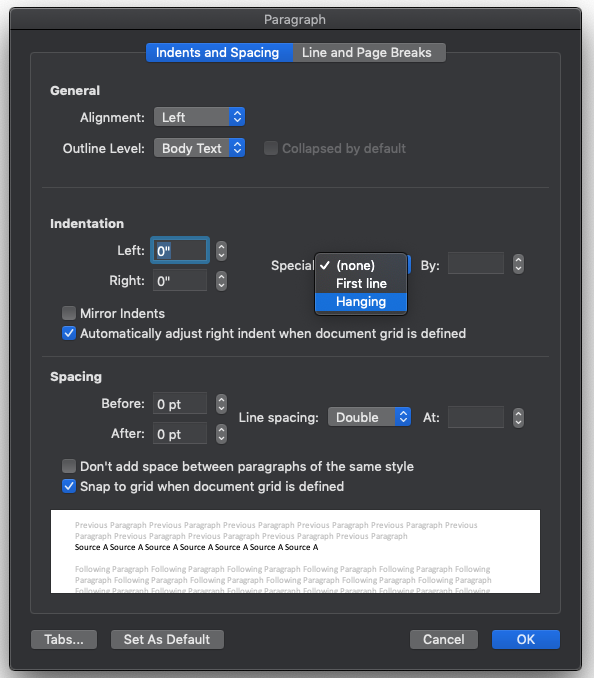
In the “Indentations” category, change the “Special:” option to “Hanging.” When you do this, the “By:” should automatically change to 0.5" (and if it doesn’t, increase it to 0.5"). Click “OK” . . .
. . . and your source magically scoots over half an inch, creating a hanging indent!!
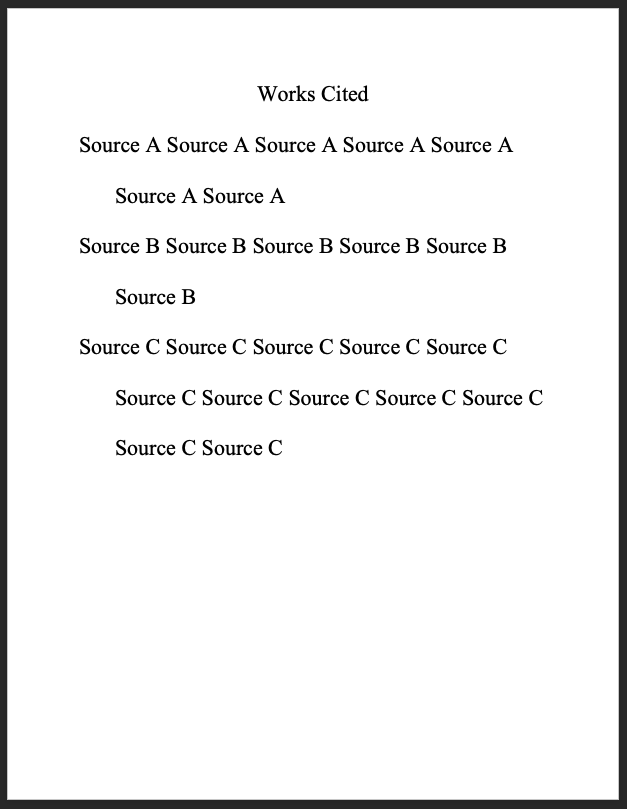
But what’s really nice about this feature is that you only need to set a hanging indent for the first citation; all subsequent citations will automatically indent over to mirror the hanging indent of Source A.
LIFE=CHANGED.
