Section 12.2 Zotero
Now that you know how to make citations, we’re going to let you in on a little secret: There’s a magical program called Zotero that can do most of the citation grunt work for you. To call it magic is not to mislead; Zotero is the Muggle equivalent of the Sorting Hat. It somehow reads the minds of articles, books, and websites and knows which pieces of information go where—it can literally cite all of your sources for you. . . . Just let that sink in for a minute.
However, since citation generators aren’t (yet) perfect, it’s still important that you understand how different styles format citations for different types of sources. Moreover, creating citations by hand is a rite of passage of sorts—one you need to experience in order to appreciate the magic of Zotero. After weeks, months, or years of spending hours working on perfectly formatting a bibliography, the first time you use Zotero will be an experience like no other. You will exclaim and cry tears of joy as all of your citations instantaneously appear before you.
In short, you need to do your own citations for awhile so you understand how they work and how to do them, but, once you’re comfortable writing them by hand, you can delegate most of your citation work to a program like Zotero. You just need to be thorough in your quality control: You have to scan through each citation to make sure that Zotero read all of the right information and sorted it correctly.
Step 1: Download Zotero.
You can download Zotero for Windows, Mac, or Linux and then choose a plugin for your prefered browser. Zotero will also integrate with Microsoft Word and Google Docs. Then create a free account. You can find all of the necessary information on the
Collins Library website
Step 2: Do some research!
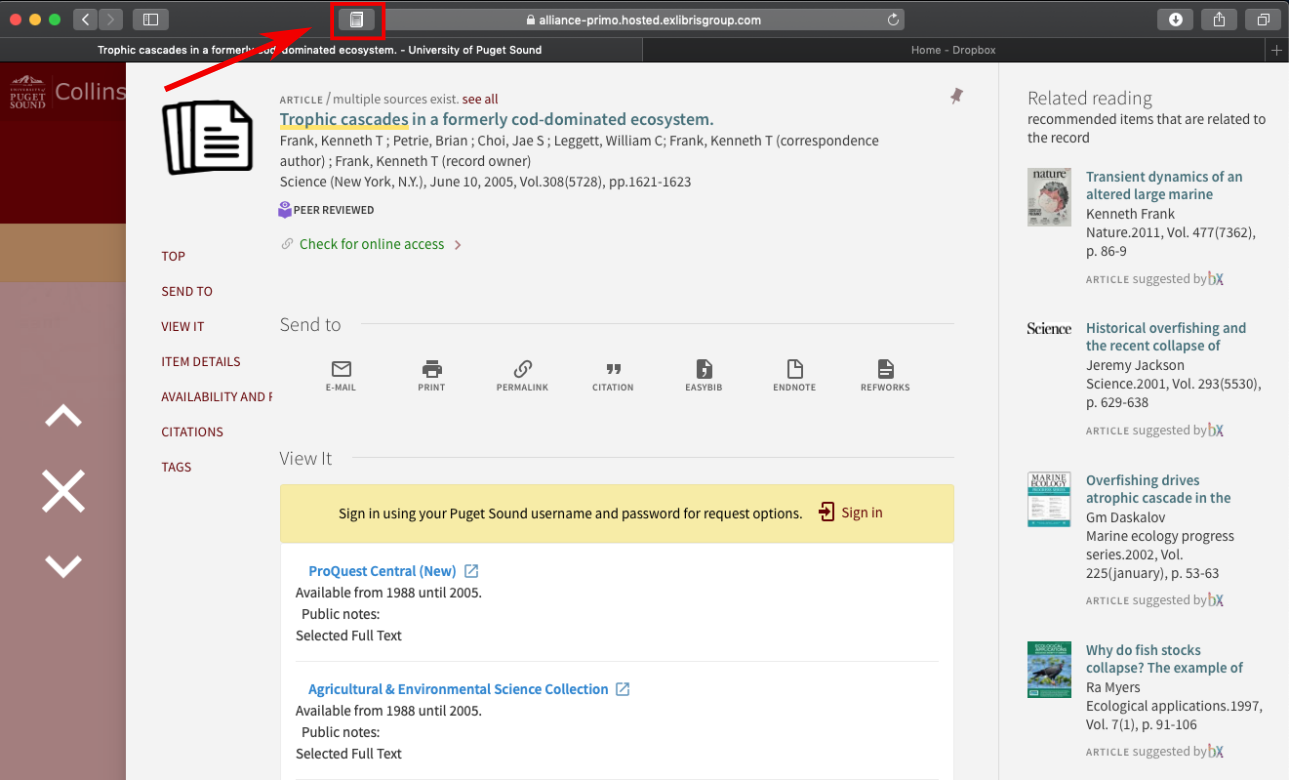
Step 3: Tell Zotero which sources you want it to save.
This will look a little different depending on what browser you’re using; here’s an example:
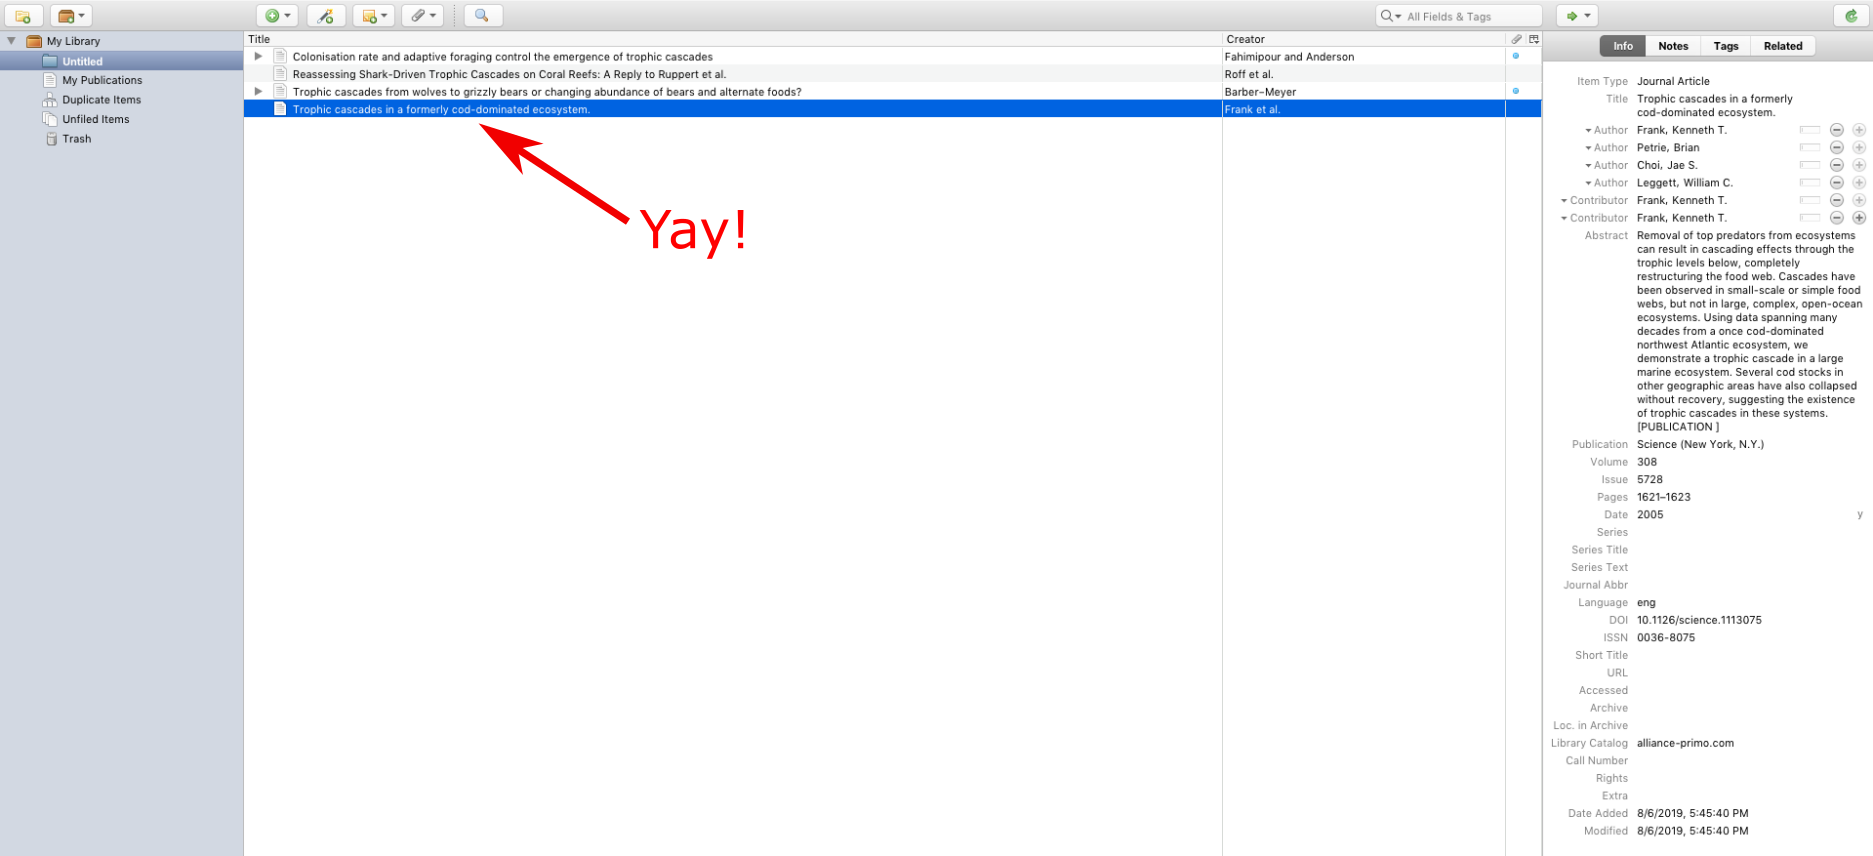
The sources will then appear in your Zotero library! You can put them in folders to stay organized.
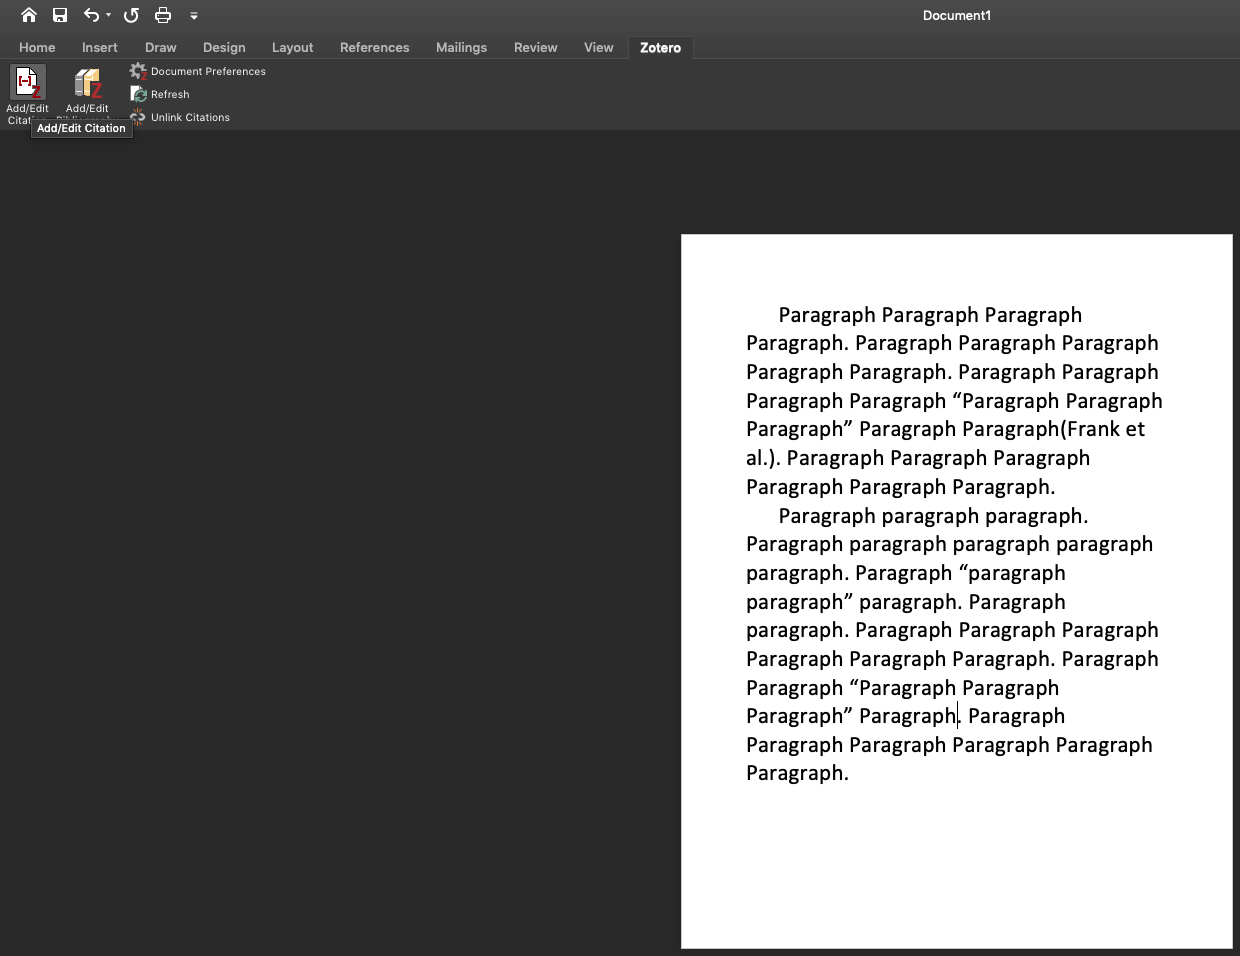
Step 4: Cite some sources.
Go into your word processor of choice and start writing! You should notice a new tab along the top ribbon titled Zotero. When it comes time to cite your source, click on the Zotero tab and select “Add/Edit Citation”.
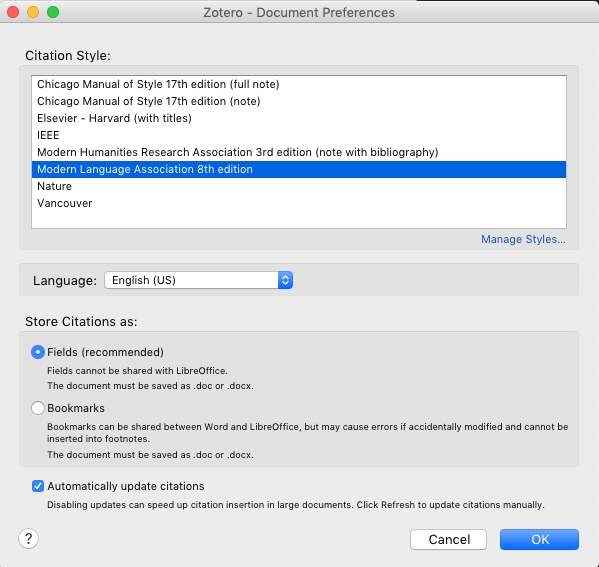
You’ll have to select what style of citation you want:
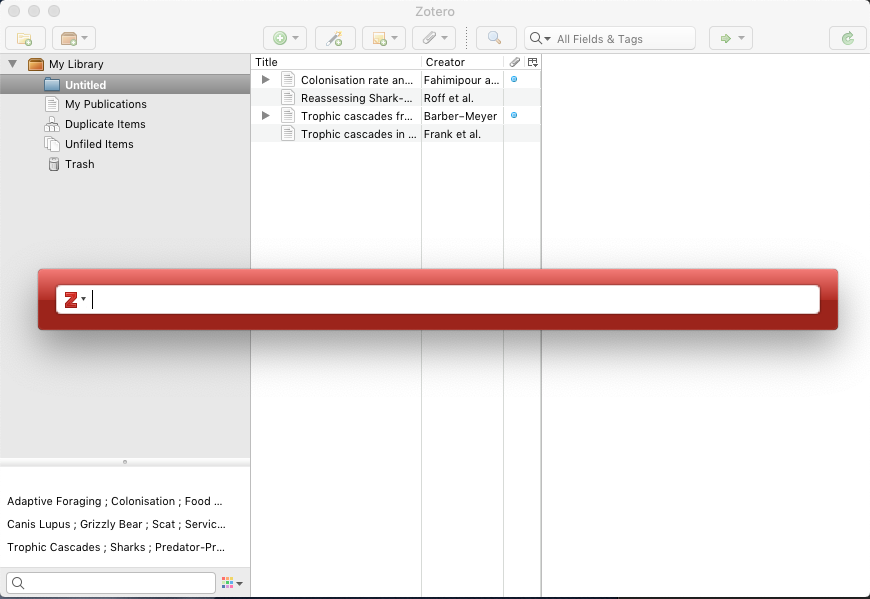
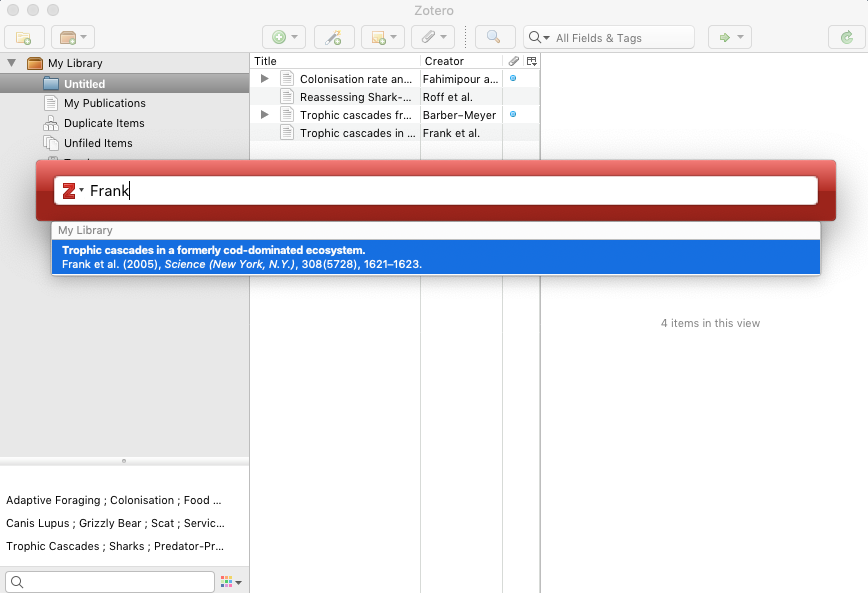
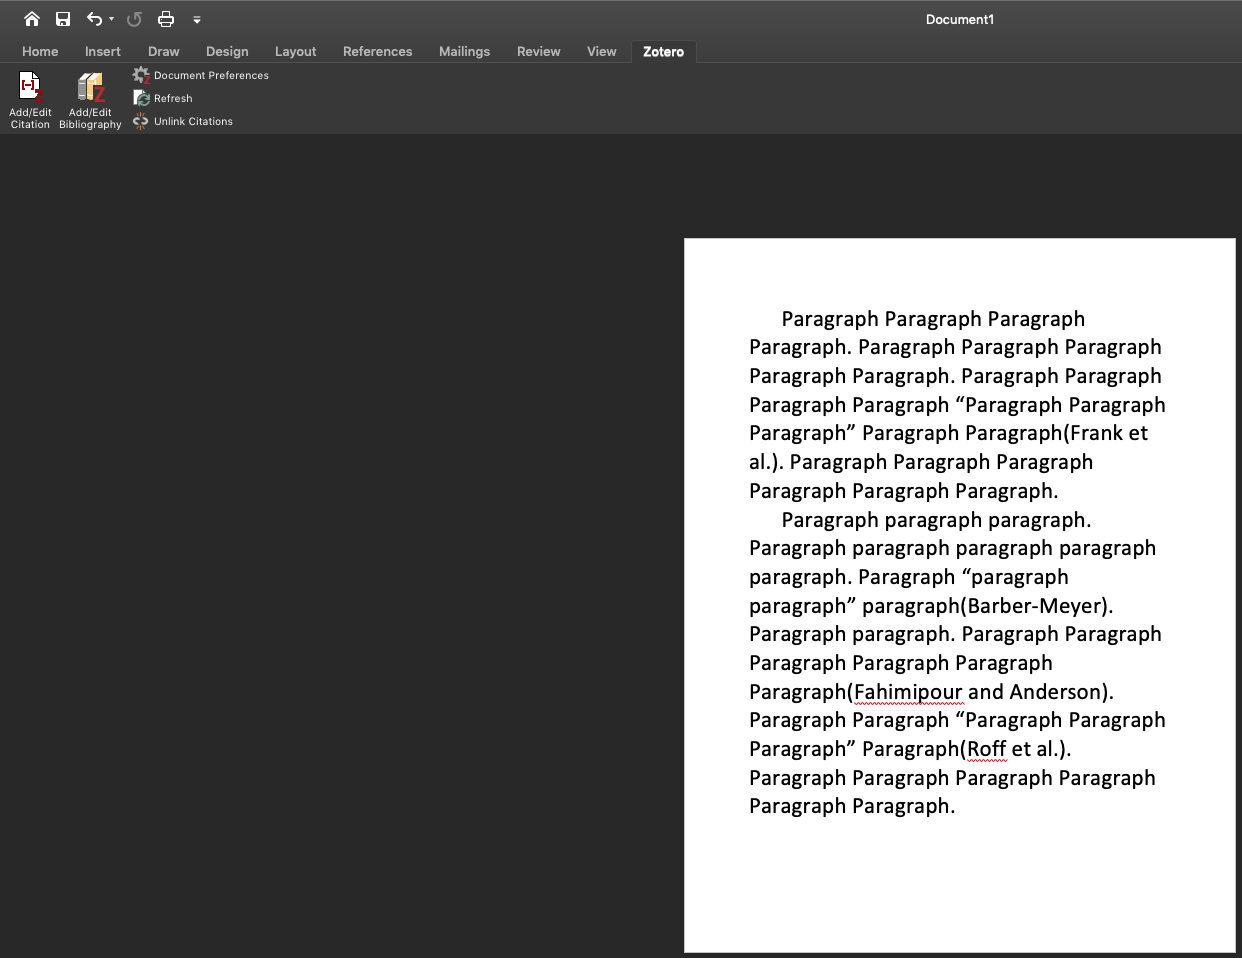
And then search for the source you want to cite!
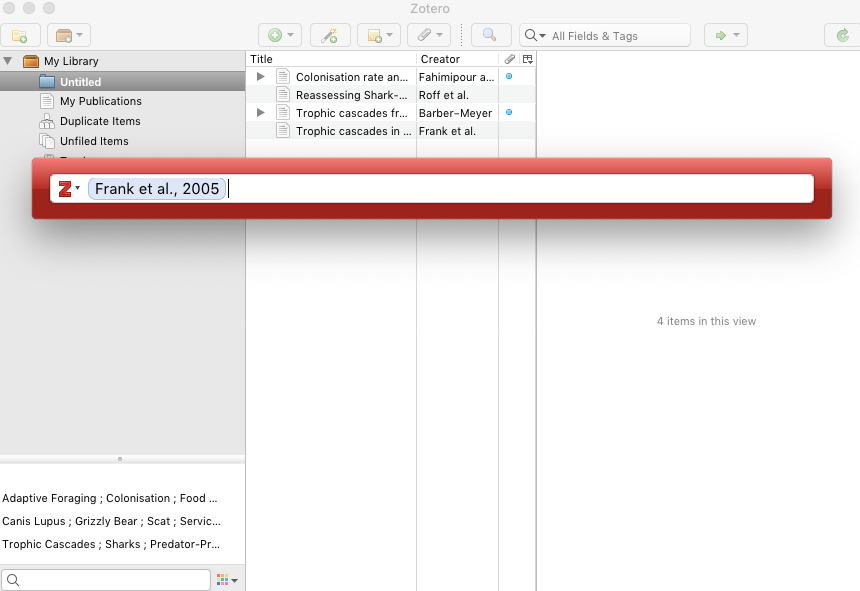
There it is! A citation!
You can keep writing and citing as you go.
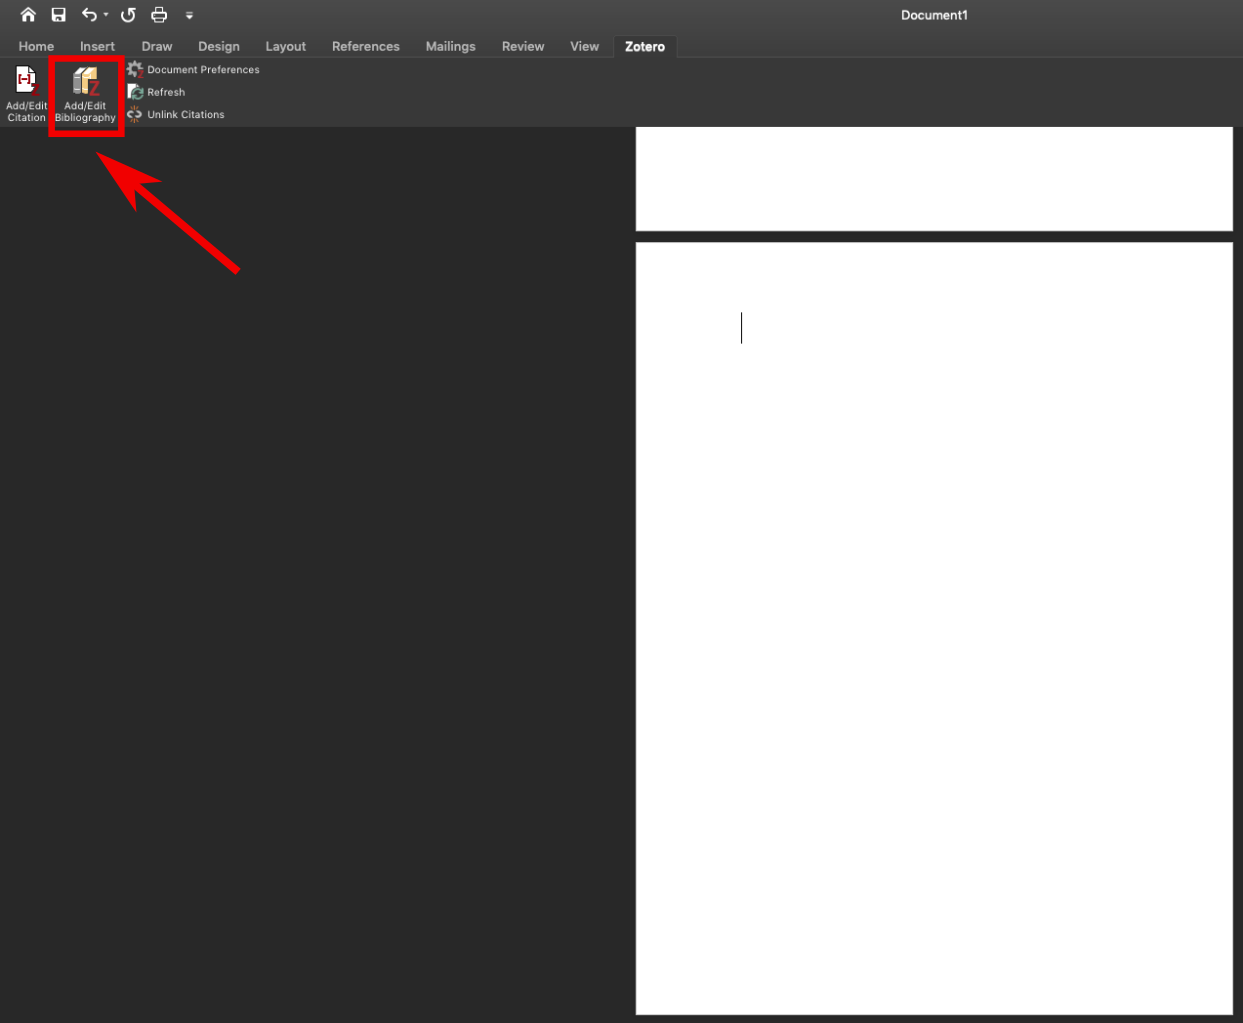
Step 5: Make your bibliography.
Once you have all necessary sources saved in Zotero, you can ask it (nicely) to make your bibliography. Get ready to be amazed.
In your document, go back to that “Zotero” tab and click “Add/Edit Bibliography”. This will generate a bibliography in your chosen style with all the sources you’ve sighted in your paper.
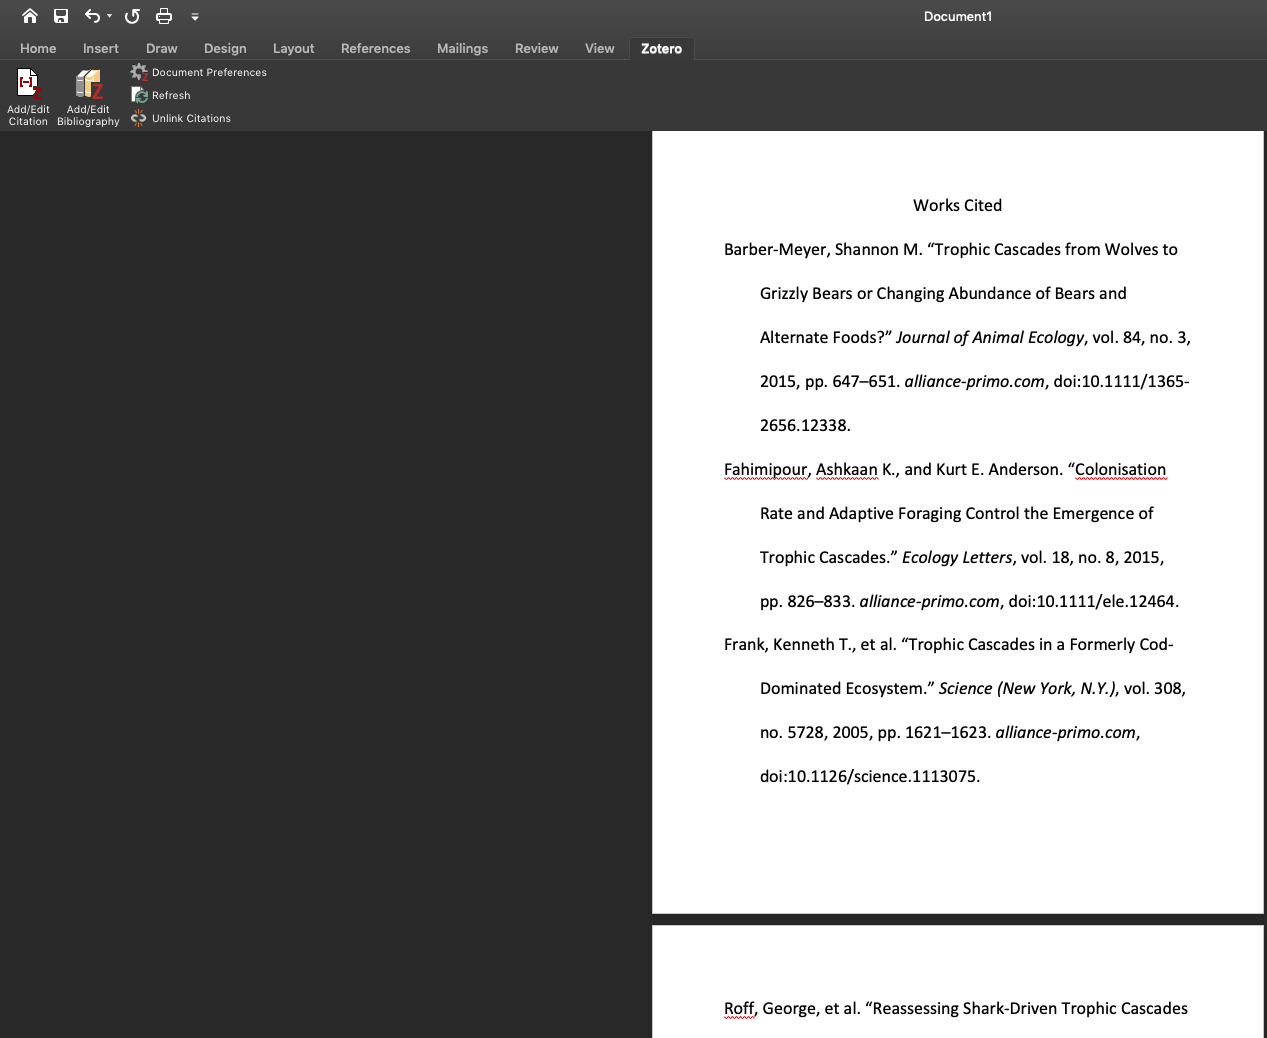
And there it is, just like that!
Magic! Still, Zotero can get things wrong, so always check over the bibliography. If anything is missing you can edit the metadata stored in Zotero.
![This image is a screenshot of a word document, with the toolbar tab that reads "Zotero" open. A red arrow and red box point out the option "Add/Edit Citation," which is indicated by a symbol of a piece of paper with "[-]" on it in red and a red "Z" next to it.](external/Zotero_03_edited.png)